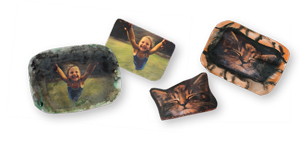
 Start your art with this photo-transferring strategy and go for a big finish by adding your own unique elements.
What you need:
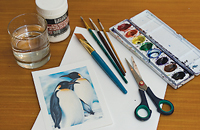 • Acrylic gel medium (we use Liquitex gel medium in heavy gloss, but any clear acrylic medium works)
• Brush, dish or tray of water
• Medium-weight paper, cardboard, or a piece of smooth wood
• Watercolor, watercolor pencils, markers, crayons
• Scissors (if trimming)
• An image copied on a laser printer. Any image copied or printed on a laser printer can be used. Images found in non-glossy magazines and newspapers work beautifully. Ink jet printers do not work as nicely.
What you do:
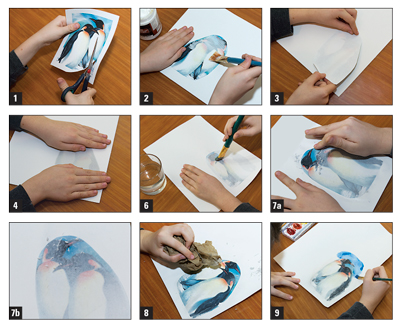 1. Cut around photo image, trimming as much white paper away from the image as you can.
2. Brush a thin coat of gel medium to the ink side of the image.
3. Place on paper or cardboard, working from the middle of image to the outside.
4. Rub until smooth.
5. Let dry 20 to 30 minutes.
6. Wet your finger with water or use a wet brush and lightly rub the back of image. The image will begin to appear.
7. Small deposits of paper pulp will start to accumulate.
8. Keeping your finger moist, gently rub until the majority of white is gone and the image remains. This can be done in stages. If you need to let it dry, you can continue this step later. (If a bit of the image rubs away, that’s fine. It’s part of the unique look of the project. You can adapt it; see next step.)
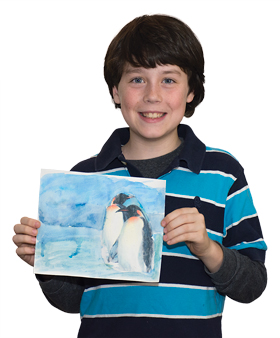
9. When the image is transferred, use your watercolor paints, crayons, or pencils to customize your original work of art.
Take it further
• Combine different images to create a unique composition.
• Try replacing paper with a smooth piece of wood.
