In today’s fast-paced world, juggling work, school, and family life can often feel like a monumental task. With so much on our plates, it’s easy to let healthy eating take a backseat. But what if I told you that achieving a healthier lifestyle for your family doesn’t have to be hard?
As a health coach, food blogger, and cookbook author, I’ve had the privilege of exploring various approaches to healthy living. Through my journey, I’ve come to embrace a habits-based approach that has transformed not only my life, but the life of my family and many others as well.
Starting Early – The Power of Habits
The saying, “It’s never too late to start!” holds true, but there’s an undeniable advantage to getting on the path to healthy living sooner rather than later. Children are like sponges, absorbing the behaviors and habits they observe at home. By establishing healthy routines early, you’re not just promoting physical well-being; you’re instilling skills that will serve them well throughout their lives.
One of the key principles of a habits-based approach is the gradual incorporation of healthier choices into your daily life. It’s about making small, sustainable changes that can be maintained over time. For instance, start by including more fruits and vegetables in your meals, and gradually reduce the intake of processed foods. These small shifts in habits can have a profound impact on your family’s overall health.
Of course, kids can be picky about what they eat (I have a three- and one-year-old so I understand this well), but I’ve also seen that kids are more likely to eat something if they see you eating and enjoying it. The more often you can model healthy eating habits, the more chances they’ll have to join in.
Closer Look at Meal Prep
One of the most effective ways to make healthy eating easier for your family is to meal plan. Imagine always having an easy answer to the question, “What’s for dinner… or lunch or breakfast?”
Over the years, I have developed an easy four-step meal prep method that truly works. And it doesn’t involve spending all weekend in the kitchen cooking every single thing you’re going to eat for the week.
My meal planning and prep process involves four simple steps:
Step One: Plan
On the weekend, break out your calendar and think about the week ahead so you can see upcoming events, what days you have activities, which nights you have dinner plans, and so on.
Once you have your week mapped out, start filling in recipe ideas for each meal. You can keep this super simple when you’re first getting the hang of meal prep. Start with just one type of meal (like dinner) if planning every meal seems too overwhelming. And feel free to duplicate recipes and eat leftovers.
Step Two: Create Your Shopping List, Take Inventory, and Shop
Once you have your recipes picked out, create a shopping list of the ingredients you need. Pro tip: Sometimes it can be helpful to look at what’s in the fridge and the pantry before choosing recipes so you can use up things you already have on hand!
Then it’s time to head to the grocery store to grab what you need. Or, if you have a lot going on, consider ordering your groceries online, for either delivery or curbside pickup. This can save so much time.
Step Three: Prep Time
There are three basic ways to prep:
- Prep individual food items, such as batch-cook quinoa, rice, roasted veggies, spaghetti squash noodles, and so on.
- Prep and assemble things to be cooked later; this includes chopping veggies and making any sauces.
- Prep and fully cook meals, such as casseroles, curries, soups, and other meals you can reheat throughout the week.
Look at your recipes for the week and decide which things you want to batch-cook, which items can be prepped, and which meals can be fully cooked.
I like to fully cook most of my breakfast and snack options, because I want those to be ready to eat on the fly throughout the week. Prepping and assembling is my preferred method for dinner recipes because it’s nice to eat those things fresh the first night.
Step Four: Assemble,Cook (or Reheat), and Enjoy
This is where you get to enjoy all of the prep work you did earlier in the week. It will depend on which recipes you chose and how much prep work you did in advance, but this step will involve some assembly, cooking (or reheating), and the best part – eating!
Try to Embrace Imperfection!
In the world of social media, it’s easy to fall into the trap of comparing ourselves to the seemingly perfect lives we see online. Remember, what we see on social media is often a highlight reel – a carefully curated version of reality. I try my best to be as real and authentic as possible, but you may watch my Instagram videos and assume that I meal plan and prep every single week or that my family only eats healthy food one hundred percent of the time, and that’s certainly not the case.
No one is perfect and I believe moderation and balance are key when it comes to healthy eating. There’s certainly a time and place for convenience foods and treats… especially during the holidays!

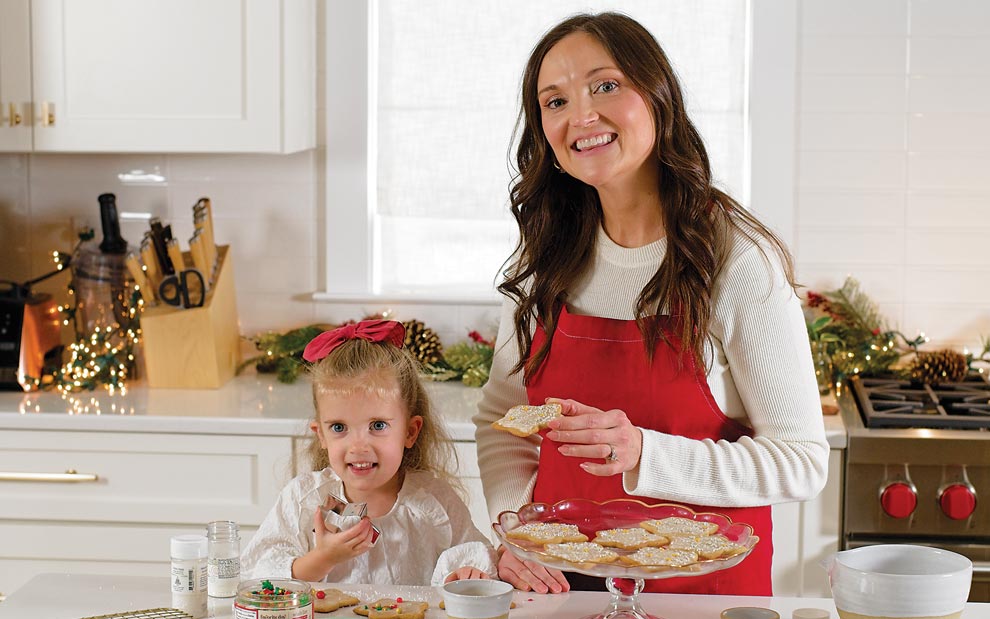
Brittany’s Whole Wheat Sugar Cookies
- 1 ¾ cups whole wheat pastry flour, plus more for rolling
- ½ teaspoon baking powder
- ¼ teaspoon sea salt
- ½ cup unsalted butter, softened to room temperature
- ½ cup maple syrup, at room temperature
- 1 large egg, at room temperature
- 1 teaspoon vanilla extract
Icing
- ½ cup powdered sugar
- ¼ teaspoon vanilla extract, or almond extract
- 2-3 teaspoons almond milk, plus more to thin
In a medium bowl, mix together whole wheat pastry flour, baking powder and salt. Set aside.
In a stand mixer or a large bowl with a hand mixer, cream butter and maple syrup on medium high speed until light and fluffy. Add egg and vanilla extract, mixing on medium speed until combined.
Slowly add flour mixture to wet ingredients and mix on low speed, until just combined. Dough should be soft, but not sticky. Add a little more flour if it seems too sticky, 1 teaspoon at a time.
Wrap dough in plastic wrap or place the entire bowl in the fridge and let dough chill in the fridge for 1-2 hours, or overnight.
When dough is chilled and you’re ready to bake, preheat the oven to 350 degrees, line baking sheet with parchment paper, and set aside.
Remove dough from fridge and leave at room temperature for a few minutes to soften. Sprinkle one to two tablespoons of flour on rolling surface and rolling pin.
Roll out dough using a rolling pin until it’s about 1/4-1/3 inches thick. The thicker your cookies are, the softer they’ll be.
Use your favorite cookie cutter shapes to cut out the dough and place them about 1 inch apart on your cookie sheet. Gather and re-roll the dough scraps as many times as needed until all the dough is used. Add additional flour to the surface and rolling pin as needed to prevent the dough from sticking.
Bake for 8 to 10 minutes or until the edges and bottoms are lightly golden.
Allow cookies to cool a few minutes before transferring to a wire rack to cool completely.
Once cookies are cool, you can frost and decorate them.
Homemade icing: Combine powdered sugar, vanilla, and almond milk in a small bowl. Whisk until all lumps of sugar have dissolved and icing is the thickness you desire. Frost cookies with icing and add sprinkles right away, before the icing has a chance to set.
Serves 16.


