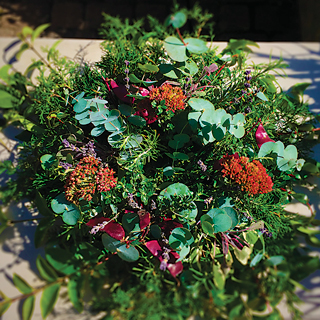
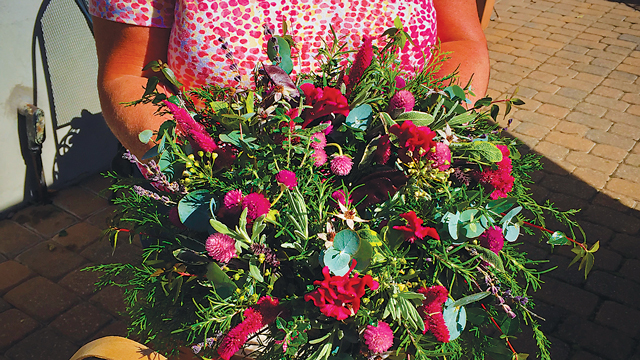
The holidays are here, and you can decorate with fresh greenery to fill your home. With these easy steps, you can make a fresh wreath in no time at all. There aren’t a lot of rules, but some guidelines will give you confidence and help you get started.
Here at the farm, we use wood-stem evergreens like cedar, ligustrum, holly, pine, and juniper, as well as herbs like rosemary, lavender, sage, thyme, and then add fresh flowers to make it pop. Be creative and use what you have in your own backyard, or pick up a few items at the store.
Only a few simple things are required to get started: fresh greenery, herbs, flowers, and snips; a pre-made wreath form from a craft store (or make your own with floral foam and a wire frame); pruning shears; and a basket for gathering materials. We recommend garden gloves, but they aren’t required.
 1. First, gather your greenery, herbs, snips, and flowers in your basket. Prune pieces ranging in length from two to six inches. Cutting greenery, herbs, and flowers at different lengths creates visual interest when you’re assembling your wreath centerpiece. Look for interesting accents to use in groups of three, five, or seven. Our artist eyes are always drawn to design and patterns in odd numbers.
2. Remove about one-and-a-half inches of the foliage from the bottom of each stem to ensure no foliage is inserted into the foam. (If the foliage is inserted into the foam, it can create a rot smell like when leaves are left in the water of a vase for too long.)
3. Thoroughly soak floral foam in water.
4. Just before you insert your stems into the foam, cut the bottom of each stem at an angle to allow more moisture from the foam to be absorbed into the stems. When inserting, make sure the ends of the stems do not poke through to the opposite side of the foam, so water can be fully absorbed
and your centerpiece stays fresher longer.
5. The longer stems go around the outside with the shorter ones filling in the top. Insert foliage at different angles for the best look, not straight up. Create three focal points (at four, eight, and twelve o’clock positions on the wreath form), and fill around these in all directions until they meet. Finish it off with final accent pieces that vary in size, color, texture, and shape.
 Use your wreath as a centerpiece on a table by positioning it on a rimmed plate or a cake plate with a rim for easier watering. Inside, you can enjoy the smell of your wreath as a centerpiece on a plate or hanging in your home, but it will dry out faster than if you hang it outside somewhere. To water your wreath, place it on a rimmed plate and pour some water in the center of it. Allow some water to be absorbed before you pour off excess. Your creation will last for a few weeks with good care. To release the fresh scents, you can gently rub its leaves. And remember,
you can keep adding color and scents from your yard to prolong the life of your centerpiece.
Creating a beautiful centerpiece or wreath is much easier than you would think if you allow yourself creative freedom. At the farm, some guests might start out apprehensive, but by the end of the experience, they are proud of their creations and ready to make another.


